How to Fix “ESXi VM Invalid After Reboot” Error

Published: January 15th, 2026 • 8 Min Read
Introduction: You’ve just finished a routine maintenance cycle or a host restart. You log back into your VMware vSphere client, expecting everything to be green and operational. Instead, you’re greeted by a sight that makes every sysadmin deeply frustrated: your critical Virtual Machine is grayed out, and next to its name, it simply says (invalid) or (orphaned).
If you are staring at an ESXi VM invalid after reboot status, don’t panic. While it looks like your data has vanished into the digital void, the reality is usually much less catastrophic. Usually, this is a communication breakdown between the ESXi host and the VM’s configuration files.
In this guide, we’ll break down exactly why this happens, how to troubleshoot it manually, and what to do if your configuration files are so badly damaged that the standard “DIY” tricks won’t work. Let’s get your infrastructure back online.
What Does “ESXi VM Invalid” Actually Mean?
When ESXi marks a VM as “invalid,” it means the Management Server (vCenter or the host itself) can no longer find or read the Virtual Machine’s configuration file (the .vmx file). Think of the .vmx file as the VM’s “identity card”—it tells the host how many CPUs the VM has, how much RAM is allocated, and where the hard drives (.vmdk files) are located.
When the host reboots and tries to “inventory” its VMs, if it hits a snag reading that file, it gives up and labels the VM as invalid. It’s essentially saying, “I know something was here, but I don’t know how to start it anymore.”
Common Causes Behind the “Invalid” Status
Understanding the “why” helps prevent this from happening during your next maintenance window. Here are the usual suspects:
- Datastore Connectivity Issues: The storage where the VM resides (SAN, NAS, or local RAID) didn’t mount fast enough after the reboot.
- Modified File Paths: Someone moved or renamed the VM’s folder or the .vmx file while the host was down.
- Corrupted .vmx File: A sudden power failure or disk error corrupted the text-based configuration file.
- Locking Conflicts: Another host in a cluster still thinks it “owns” the VM, preventing the current host from accessing the files.
- Snapshot Chain Issues: A messy snapshot tree can sometimes cause the inventory to fail during a host reload.
Quick Checklist: Try These First!
Before diving into deep technical fixes, run through these easy-to-follow solutions:
- Wait 5 Minutes: Sometimes, large storage arrays take longer to initialize than the ESXi boot sequence. Give the host a few minutes to find the storage.
- Refresh the Client: Log out and log back into the vSphere Web Client. Sometimes the UI just needs a nudge.
- Check Datastore Status: Navigate to Storage and ensure the datastore containing the VM is “Normal” and “Mounted.”
How to Fix ESXi VM Invalid After Reboot (Manual Methods)
If the quick checks didn’t work, follow these step-by-step manual fixes. We will start with the easiest and move toward the more advanced.
Method 1: Unregister and Re-register the VM
This is the “gold standard” fix for orphaned or invalid VMs. It resets the host’s inventory link to the file.
- Right-click the (invalid) VM in the inventory.
- Select Unregister or Remove from Inventory. (Do NOT select “Delete from Disk”).
- Navigate to your Datastore Browser.
- Locate the folder belonging to the VM.
- Find the [VM_Name].vmx file.
- Right-click the .vmx file and select Register VM.
- Follow the wizard to add it back to your inventory and try powering it on.
Method 2: Reload the VM via Command Line (SSH)
Sometimes the GUI fails to clear the error. Using the ESXi Shell (SSH) allows you to force a reload of the VM ID.
- Enable SSH on your ESXi host and log in using a tool like PuTTY.
- Identify the VM’s World ID by running:
vim-cmd vmsvc/getallvms - If the VM is listed as invalid, find its “Vmid”.
- Run the reload command:
vim-cmd vmsvc/reload [Vmid] - Check the vSphere client to see if the status has changed to “Powered Off.”
Method 3: Recreating a Corrupted .vmx File
If Method 1 failed because the .vmx file is “missing or corrupted,” you can build a new one. Since the actual data lives in the .vmdk (Virtual Disk) file, your data is safe even if the configuration file is gone.
- Create a New Virtual Machine on the host.
- When prompted for “Select Storage,” choose the same datastore where the old VM files are.
- Under “Customize Hardware,” remove the default Hard Disk.
- Click Add New Device > Existing Hard Disk.
- Browse to the old VM folder and select the original .vmdk file.
- Finish the wizard and attempt to boot.
The Limitations of Manual Fixes
While the steps above work for simple pathing issues, they often fall short in complex scenarios. Manual fixes won’t help if:
- The VMFS partition itself is corrupted.
- The .vmdk descriptor files are missing.
- You are dealing with RAID failure on the physical host.
- Accidental deletion occurred during the “Unregister” process.
For users globally who manage mission-critical data, spending hours in the command line only to find the disk headers are trashed is not just frustrating—it’s a business risk.
The Professional Way: BitRecover Tool
When manual methods fail, or if you suspect that the “invalid” status is due to actual data corruption, it’s time to move to a professional solution. BitRecover Virtual Drive Recovery Software is designed to bypass the hypervisor entirely and speak directly to the virtual disks.
Whether your VM is invalid due to a broken snapshot chain, a corrupted VMFS volume, or a host crash that wiped your configuration, BitRecover can deep-scan the underlying .vmdk files and extract your files, folders, and databases with 100% integrity.
Why choose BitRecover for ESXi Errors?
- No ESXi Required: Recover data even if the ESXi host is completely dead.
- Compatible with Major Formats: Works with .vmdk, .vmfs, .vhd, .vhdx and more VM file formats.
- Preview Feature: See your files before you commit to the recovery.
- User-Friendly: Designed so that even a technical novice can navigate the recovery wizard.
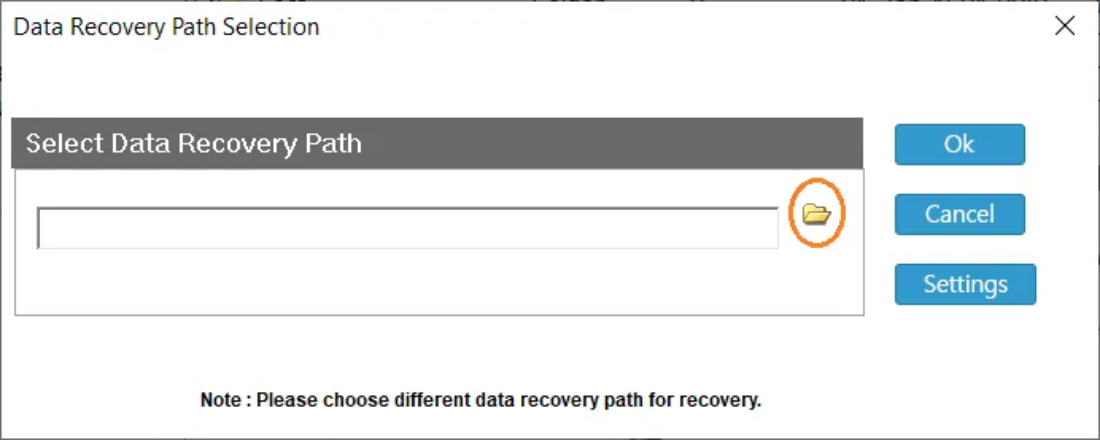
Simple Recovery Steps Using BitRecover Software
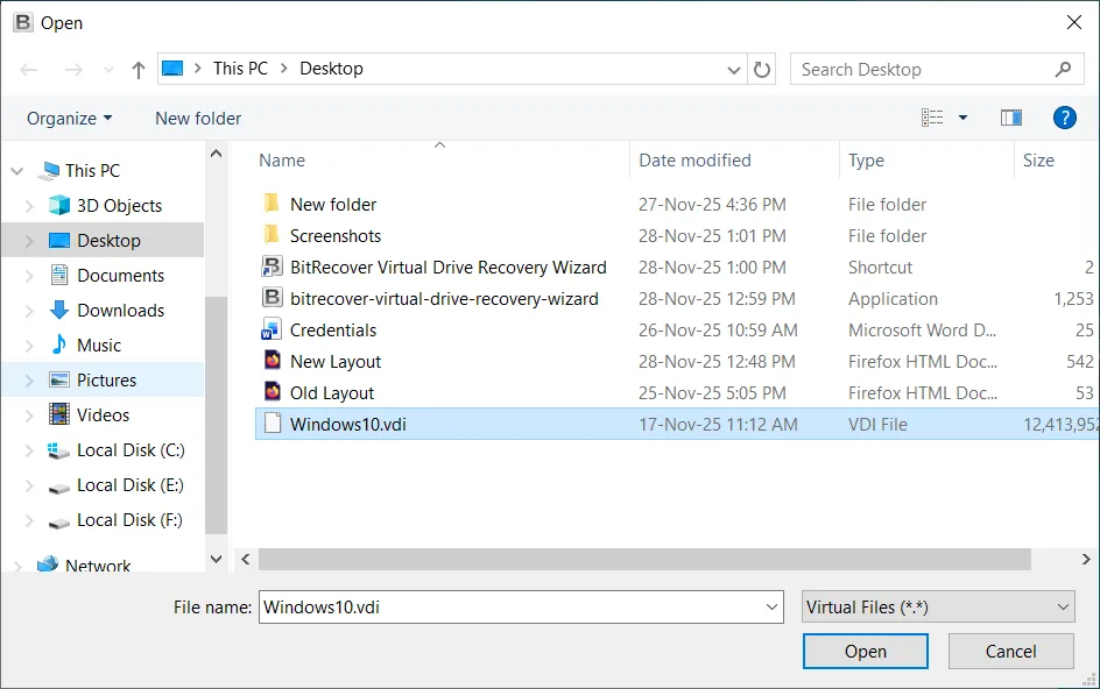
- Open the tool on your host machine.

- Select the virtual disk file (VDI, VMDK, VHD) that VirtualBox can’t boot from.

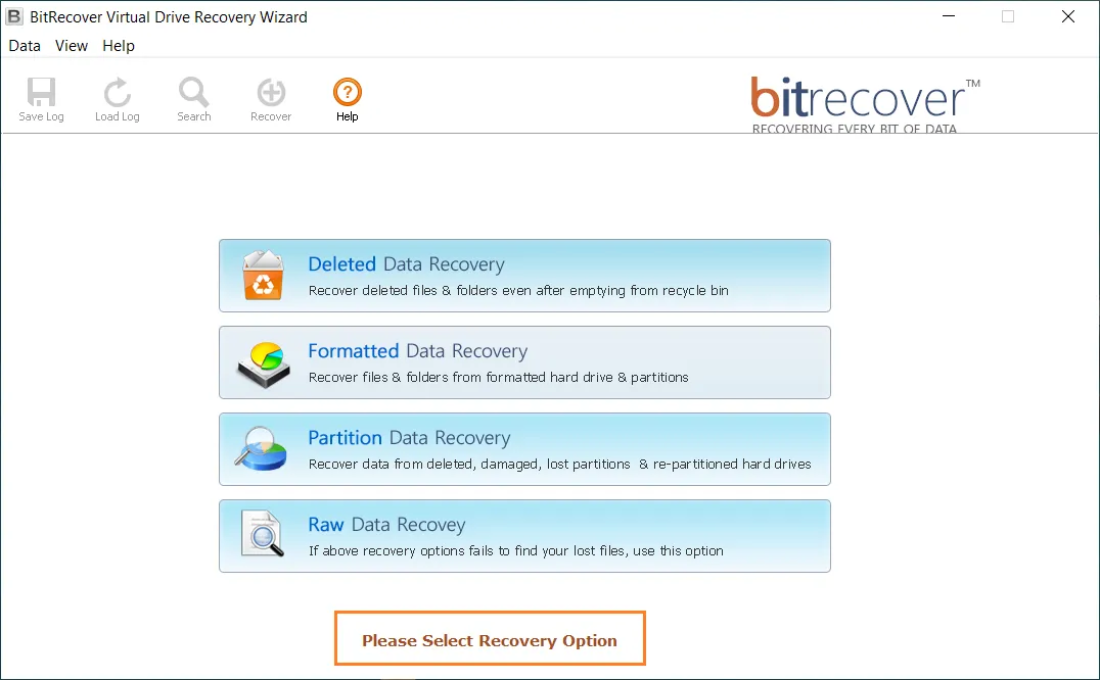
- Choose the Appropriate Recovery option for recovering data from the virtual disk file.

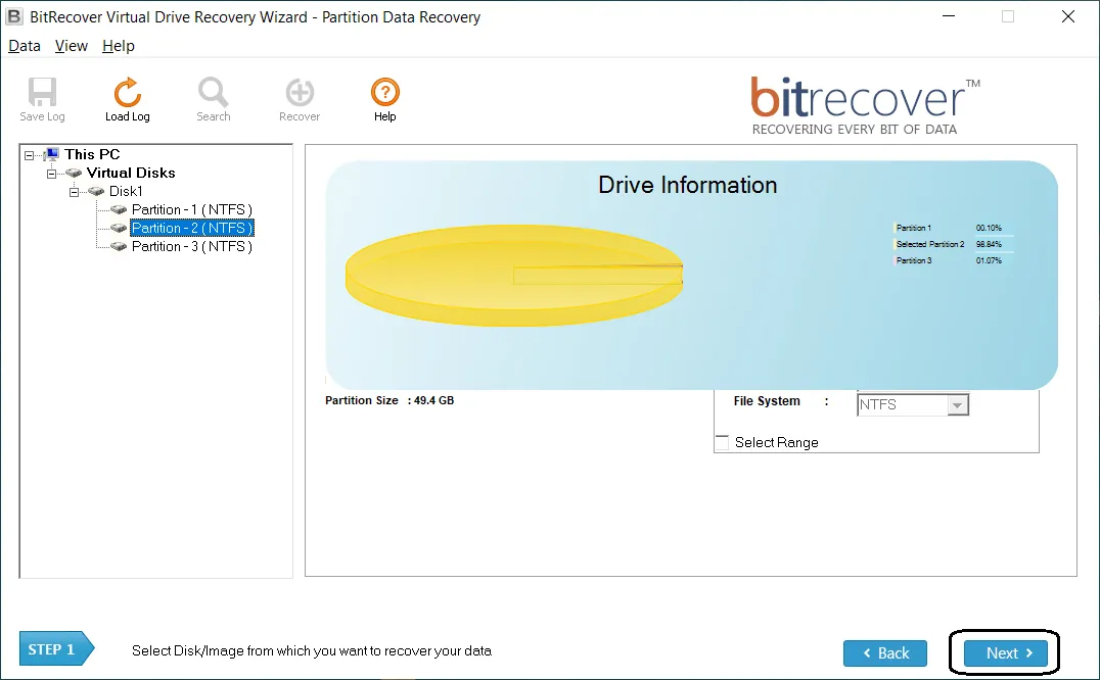
- Select & Scan the Drive Partition and wait while the software finds recoverable files.

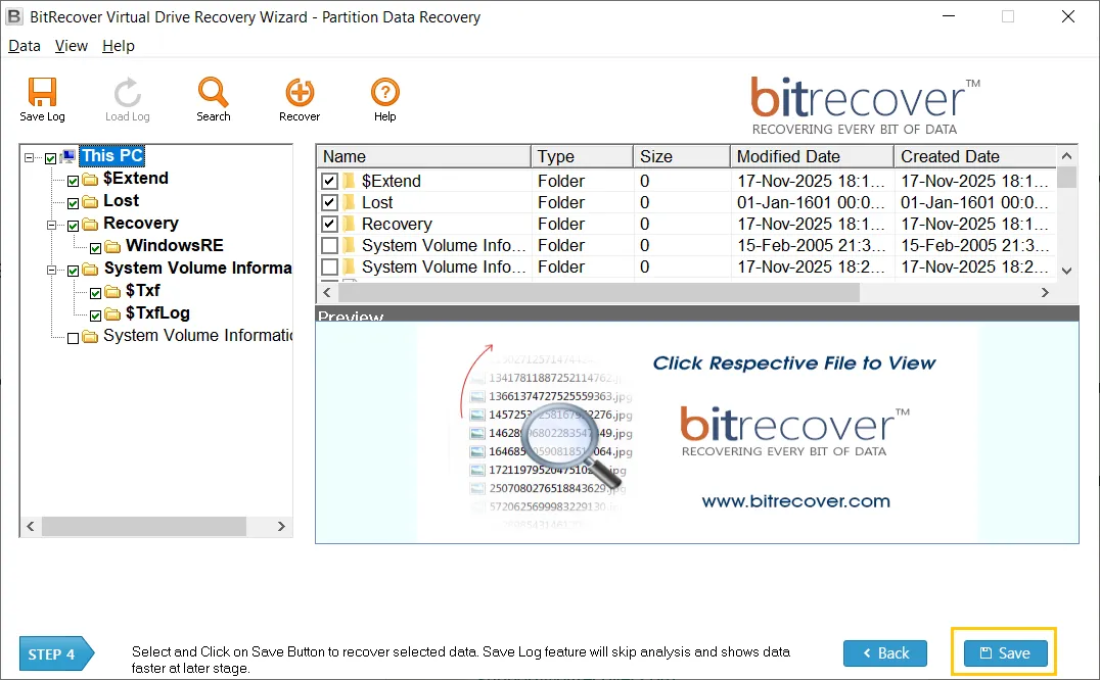
- Preview results and choose the files or folders you want to save.
- Save recovered data to a new folder on your host.

Frequently Asked Questions (FAQs)
1. Will “Unregistering” a VM delete my data?
No. Unregistering simply removes the VM from the host’s list. It is like removing a shortcut from your desktop; the actual program (your data on the datastore) remains untouched.
2. Why does my VM say “orphaned” instead of “invalid”?
An “orphaned” VM usually exists in a cluster (vCenter). It means the VM is registered to a host that vCenter can no longer communicate with. The fix is usually the same: unregister and re-register on an active host.
3. Can a power outage cause the “ESXi VM invalid after reboot” error?
Yes. If the host loses power while writing to the .vmx file, the file can become truncated or filled with null characters, making it unreadable upon the next boot.
4. How do I prevent this in the future?
Always ensure your ESXi hosts have a graceful shutdown sequence during power failures (using a high-quality UPS or other Power Backup). Also, keep your VMware Tools updated and avoid manual file movements within the datastore without using the vSphere “Move” command.
Conclusion:
Seeing your ESXi VM invalid after reboot is a stressful experience, but in 90% of cases, the data is still perfectly safe on your datastore. By following the registration and SSH reload steps outlined above, you can usually restore service in minutes.
However, if the files are missing, the datastore is unreadable, or the VMDK is corrupted, don’t risk further damage with trial-and-error manual commands. Use a trusted software like BitRecover to get your files back safely and quickly.
Need more help? Browse our other technical guides or contact our support team for expert advice on VMware data retrieval!